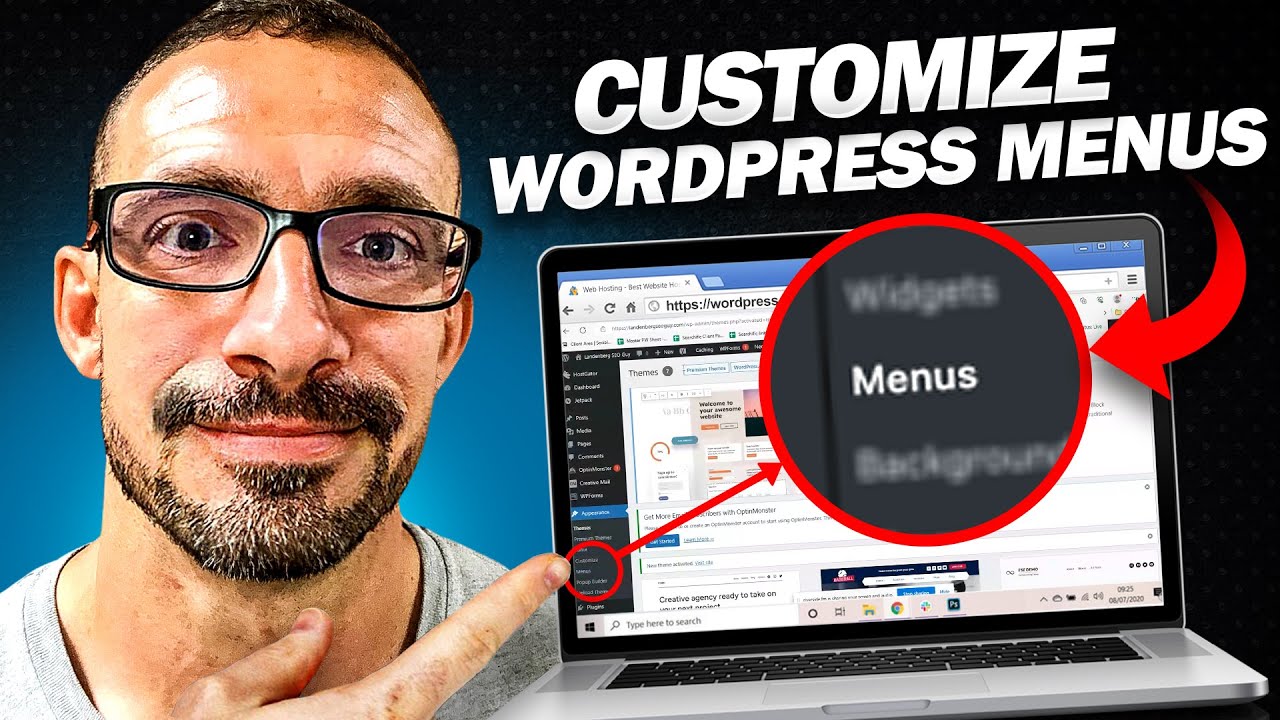
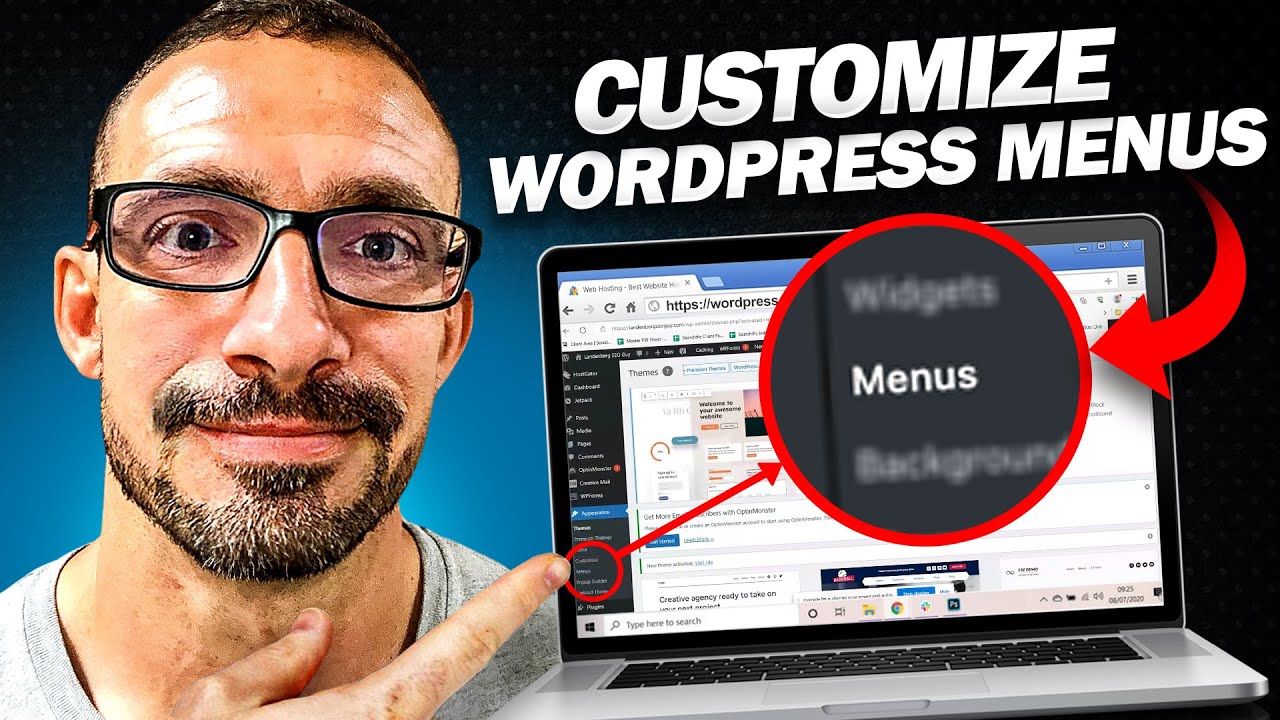
In this video tutorial, we will be discussing how to edit menus in WordPress. We will explore two different methods depending on the theme you are using. The first method involves using the menu editor in WordPress, which is found under the “Appearance” menu. This method allows you to add, edit, and delete menu items, as well as change the wording and URLs. The second method, demonstrated using the Fork theme, utilizes a point-and-click style customization through the theme’s built-in customization options. This method is great for those who prefer a more visual approach to editing menus. Both methods will be covered in detail, so you can easily customize your menus and make them work for your website.

Method 1: Using the WordPress Menu Editor
Accessing the Menu Editor
To edit your menus in WordPress, you can use the built-in menu editor under the “Appearance” menu. First, navigate to your WordPress dashboard and click on “Appearance” in the left-hand sidebar. Then, click on “Menus” to access the menu editor. This is the most common method used by most themes.
Editing Existing Menu Items
Once you’re in the menu editor, you’ll see a list of your current menu items. To edit an existing menu item, simply click on the dropdown arrow next to the item. This will expand the options for that menu item. Here, you can edit the wording and URL of the menu item. For example, you can change “Home” to “Home Page” by editing the text field. Make sure to select the “Primary Navigation” option if you want the changes to reflect on your website’s menu. Don’t forget to save your changes once you’re done.
Adding New Pages to the Menu
Adding new pages to your menu is straightforward. Simply navigate to the “Pages” section in the menu editor and search for the page you want to add. Once you find the page, click on it and then click on the “Add to Menu” button. The page will now appear as a new menu item. You can rearrange the order of the menu items by dragging and dropping them into the desired position. Save your changes once you’re satisfied.
Removing Items from the Menu
If you want to remove an item from your menu, it’s as simple as clicking on the dropdown arrow next to the menu item and selecting “Remove”. The menu item will disappear from the list. Remember to save your changes to update the menu on your website.
Customizing Menu Item URLs
In addition to editing the text of a menu item, you can also customize the URL it links to. To do this, click on the dropdown arrow next to the menu item and edit the URL field. This allows you to link a menu item to a specific page or an external URL. Once you’re done, save your changes to apply them.
Method 2: Using the Customize Option in Specific Themes
Accessing the Customize Option
Some themes, like Fork, offer a different method for editing menus. Instead of using the menu editor in WordPress, these themes provide a point-and-click style customization through the theme’s built-in customization options. To access this feature, navigate to the “Appearance” or “Themes” section in your WordPress dashboard and select the theme you want to customize. Click on the “Customize” option to open the customization panel.
Editing Menu Items in Point-and-Click Style
Once you’re in the customization panel, look for the section related to menus. Different themes may have different names for this section, such as “Header”, “Navigation”, or “Menu Settings”. Click on this section to expand it and start editing your menu items. In themes like Fork, you can simply point and click on the menu item you want to edit and modify the text or URL. The changes will be instantly reflected in the preview. Make sure to save your changes before exiting the customization panel.
Deleting Menu Items through Customization
If you want to remove a menu item, you can easily delete it through the customization options. In the menu section of the customization panel, find the menu item you want to remove and select it. Look for the option to delete or remove the item. Click on it, and the menu item will be removed from your menu. Remember to save your changes to update the menu on your website.
Customizing Links to Pages and External URLs
Just like in the WordPress menu editor, you can customize the links of your menu items in the customization panel. Find the menu item you want to modify and click on it. Look for the option to edit the URL or link. Here, you can enter the URL of a specific page or an external website. Once you’ve made the changes, save your customization settings to see the updated menu on your website.
Conclusion
Editing menus in WordPress is a vital aspect of managing your website’s navigation. Whether you’re using the menu editor in WordPress or the customization options provided by specific themes, you have the flexibility to add, edit, and remove menu items with ease. Remember to consider the theme you’re using and choose the appropriate method for editing menus. With the techniques discussed in this tutorial, you can easily customize your menu to create a seamless user experience on your WordPress website.
